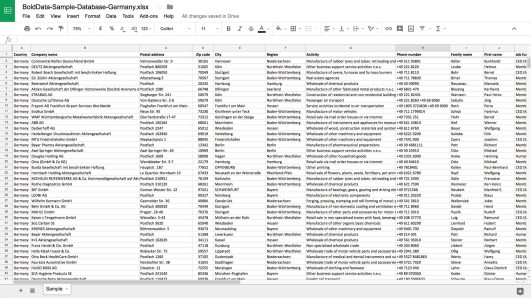
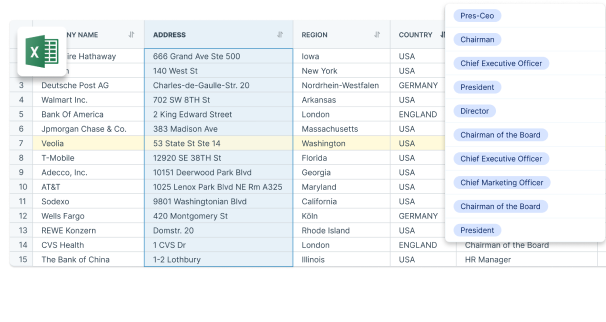
Excel is a powerful tool that can be used for a variety of tasks, including managing email lists. While there are many different tools available for managing email lists, Excel has several benefits that make it a popular choice for businesses of all sizes
Benefits of using Excel for Email lists
Here are some of the top benefits of using Excel for email lists:
- Easy to organize
Excel allows you to organize your email list in a spreadsheet format easily. You can create columns for each information you want to include, such as name, email address, company, and more. This makes it easy to sort and filter your list based on specific criteria.
- Customizable
It is highly customizable, so you can create a spreadsheet tailored to your specific needs. You can add custom fields, create formulas to automate certain tasks, and even use conditional formatting to highlight specific data.
- Cost-effective
Furthermore, Excel is an affordable option for businesses just starting with email marketing. It’s a tool that most people are familiar with, so there is no need to invest in expensive software or training.
- User-friendly
Excel is a user-friendly tool that most people are already familiar with. This means you can quickly and easily train your team members to use it to manage your email list.
- Integration
Last but not least, Excel can easily integrate with other tools and platforms, such as email marketing software, customer relationship management (CRM) systems, and more. This makes it easy to import and export data, and ensures that your email list is always up-to-date.
Steps in Sending Email Using Excel Lists
- 1. Set up your email account
Before sending an email using an Excel list, you’ll need to set up an email account. This could be a personal email account or a business email account through a service like Gmail or Outlook.
- 2. Create your email message
Next, you’ll need to create the message that you want to send to your email list. This could be a simple text email, or a more complex HTML email with images and formatting. Make sure to personalize your message as much as possible to increase engagement.
- 3. Import your Excel list
Once your email message is ready, it’s time to import your Excel list. Most email clients will have a feature that allows you to import contacts from a CSV or Excel file. Simply follow the prompts to import your list.
- 4. Customize your message
Once your list is imported, you can customize your message by inserting merge fields to pull data from your Excel spreadsheet. For example, you could use a merge field to include each contact’s name in the email.
- 5. Send your email
When everything is ready, hit send to email your entire Excel list. Double-check everything before sending to ensure your message is error-free and personalized to each recipient.
BoldData is Your Partner For Quality Email Lists
At Bold Data, we specialize in providing high-quality email lists to businesses of all sizes. Whether you’re looking for a targeted email list or a general email list, we can help. Contact us today at +31(0)20 705 2360 or send an e-mail to info@bolddata.nl. to learn more and start easily reaching your ideal customers.

